Showing posts with label Furniture Makeovers. Show all posts

Thursday, January 10, 2013

The Best of 2012

If you had told me 5 years ago that I would make a career out of painting and refurbishing furniture I probably would have turned around to see who you were talking to.  Surely not me.  Yet here I am, doing what I love and making money doing it.  I asked Denise the other day how many pieces of furniture she thinks we have sold.  Her answer?  A lot.

Here are some of our faves from 2012:

A dumpster-dive mission turned up this old desk that just needed a little love.


A gorgeous dresser that we painted for another vendor at the Barn.


An apothecary table that had a few customers at Clover Market fighting over.


An old dresser that we picked up at a yardsale for $10 without any doors.  No problemo - we just added a few baskets and sold it as a TV console!


Can you tell black was a theme last year?  This beautiful piece sold to another vendor at Clover last Fall.


Our first piece using MMS's Milk Paint.  It sold within minutes of setting up.


Hated letting go of this baby.


And a couple of my personal projects from last year:

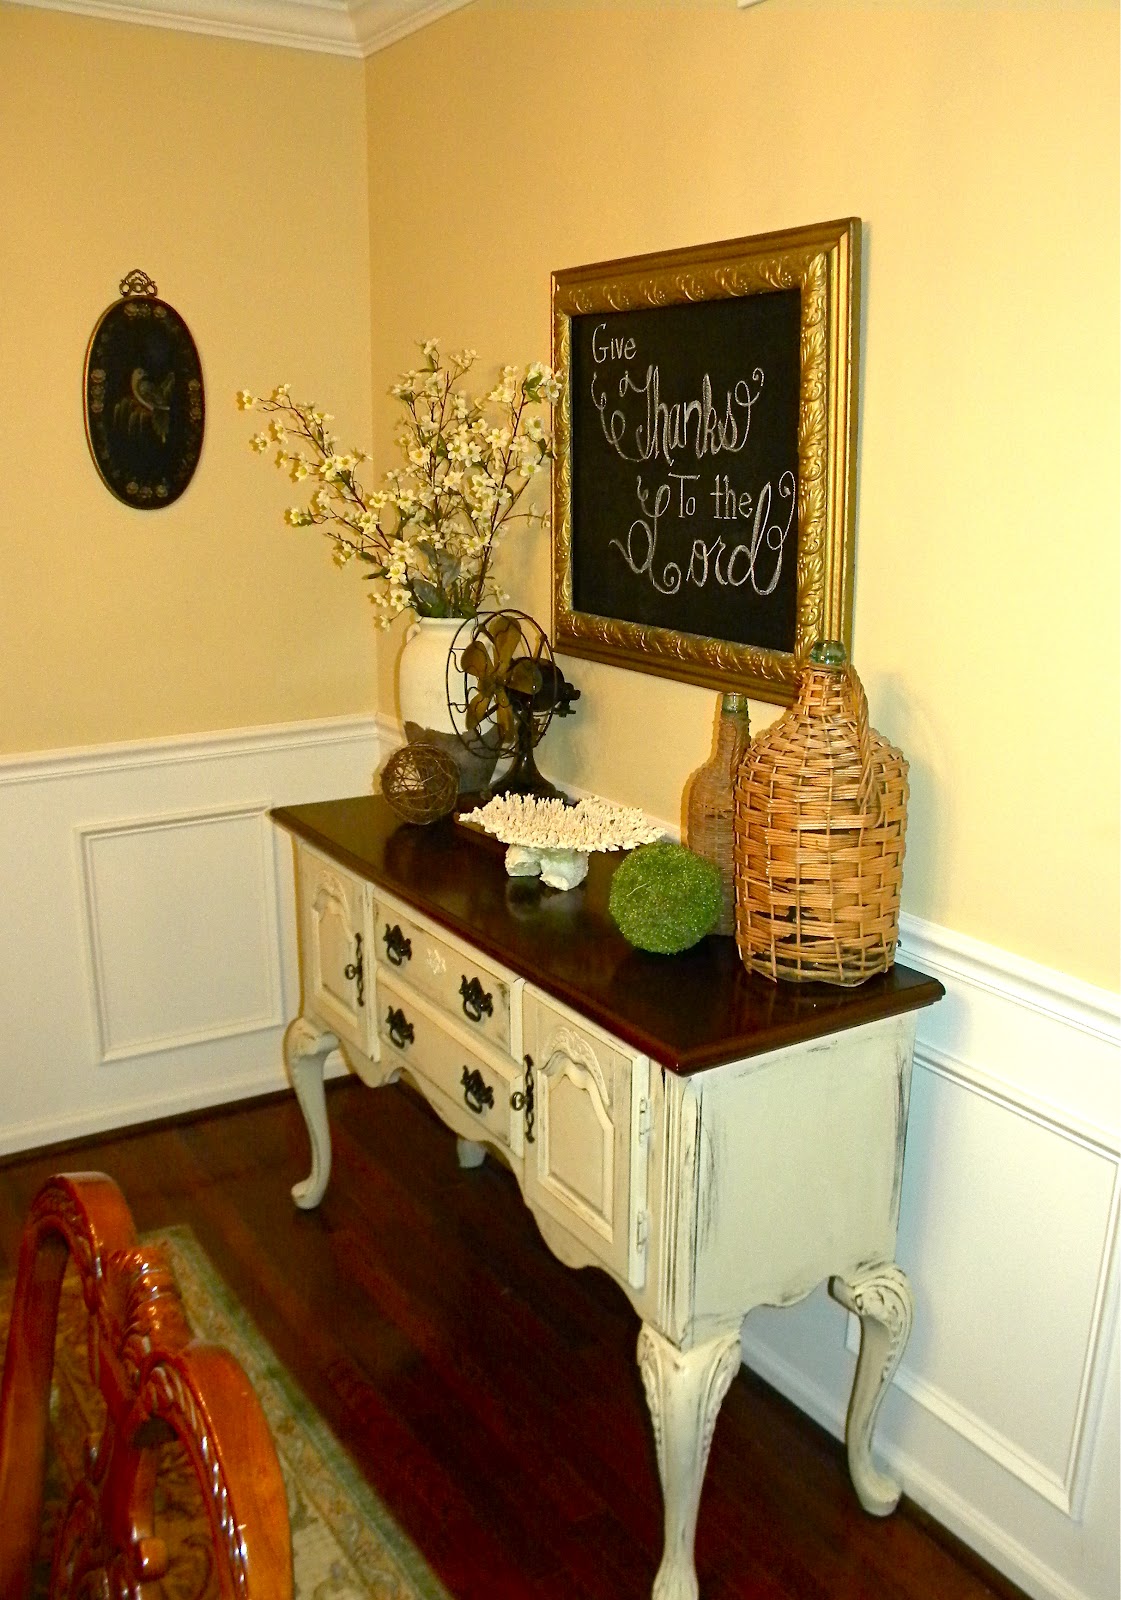
I transformed my formal Dining Room set into a more casual and rustic set, starting with the buffet.

It went from this:

To this:

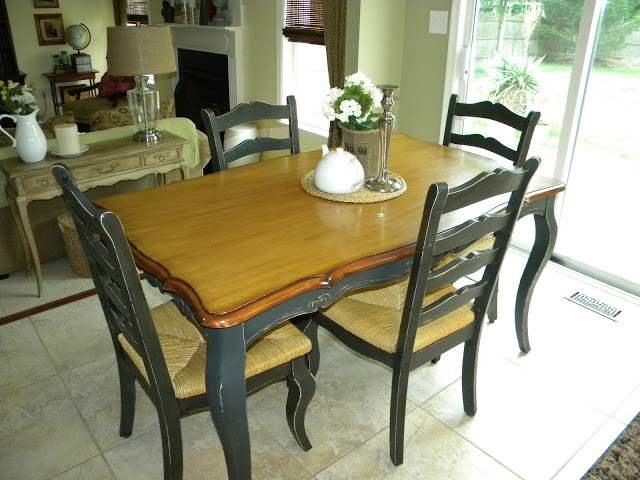
And my Craig's List kitchen set went from this:

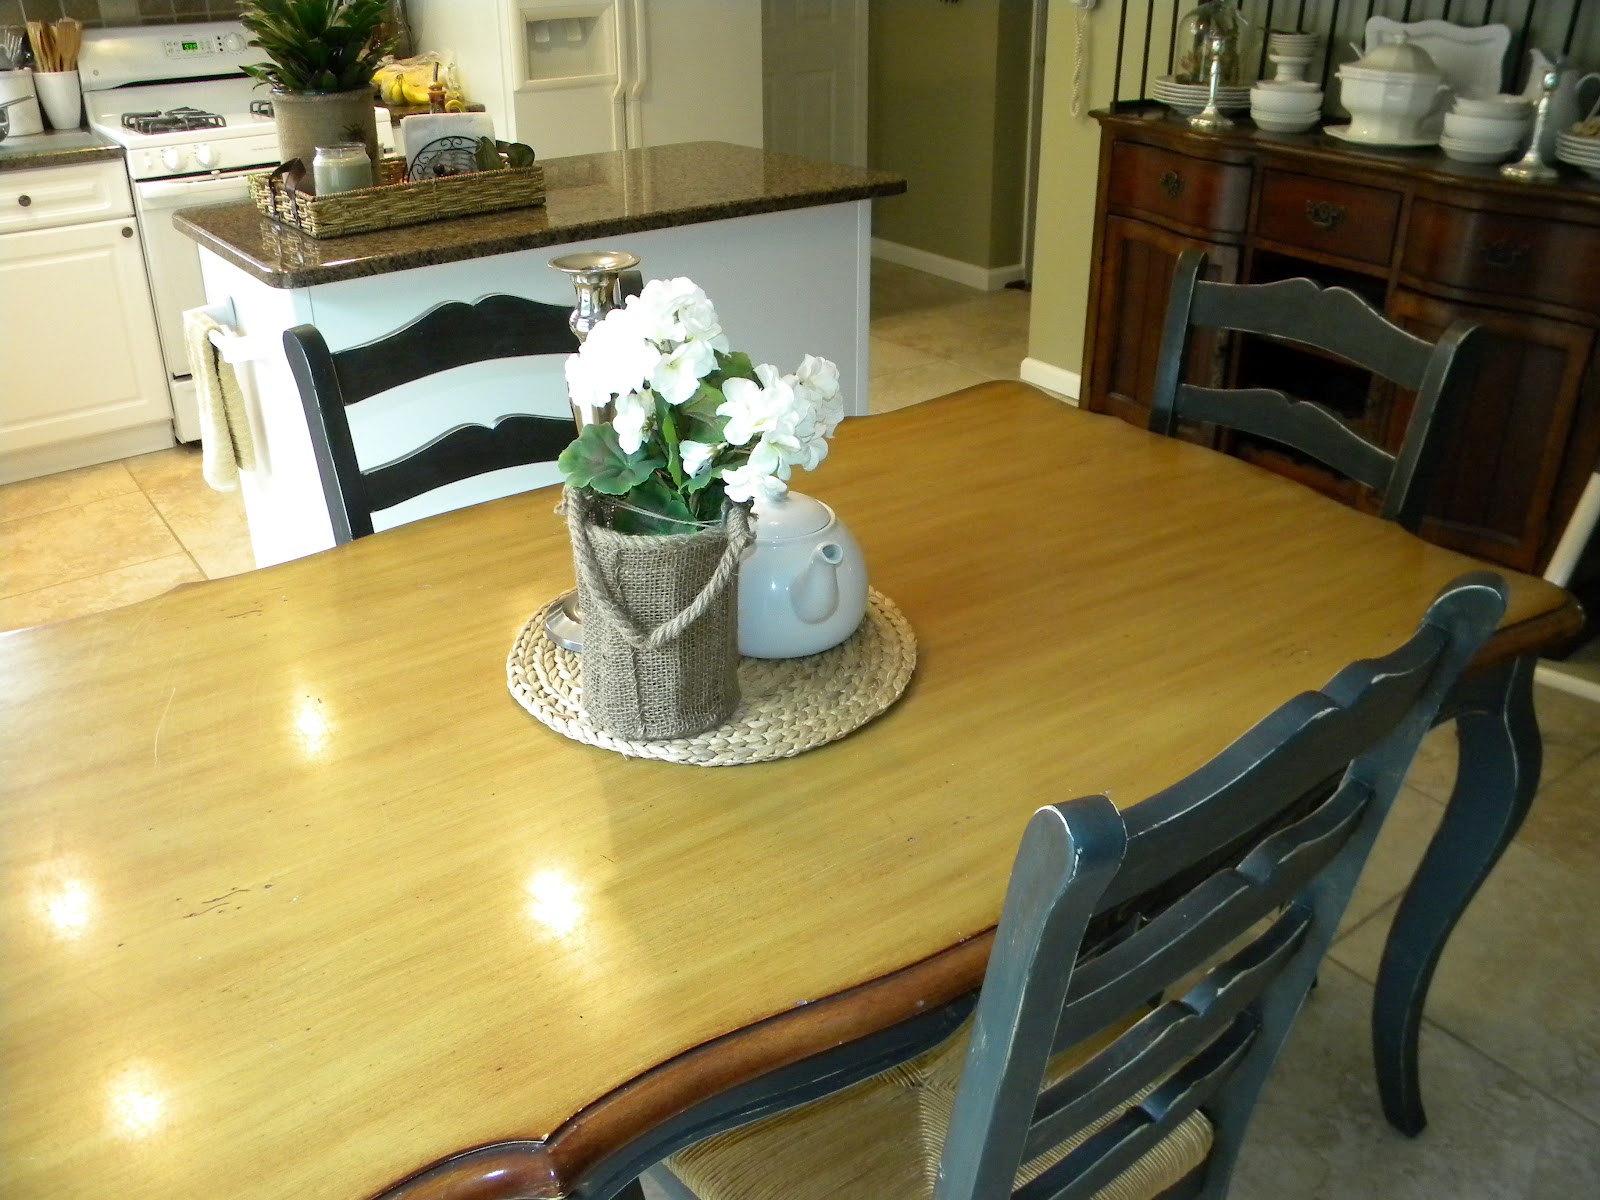
to this (buh-bye chickens):

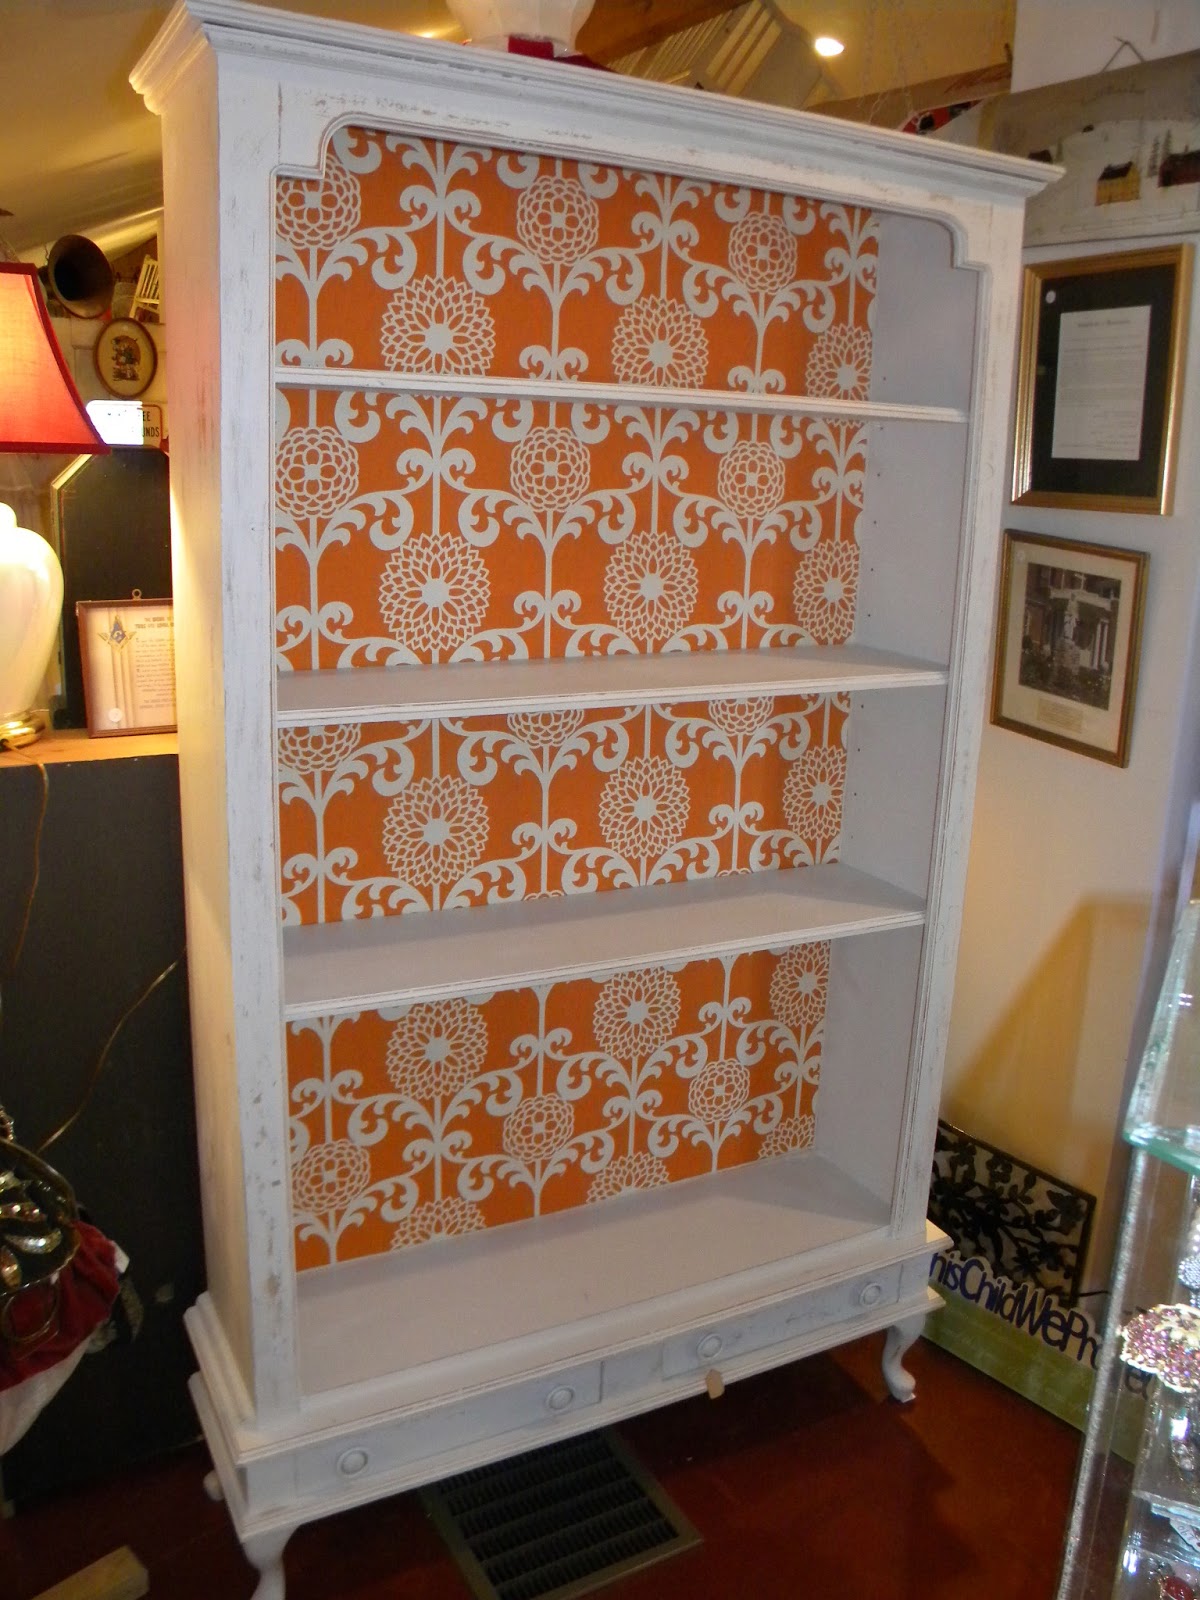
And here's a look at our first projects of 2013, already in the Barn and waiting for a new home.


The Hubs got me a Canon Rebel for Christmas and I'm still in the process of learning how to use it (thank you YOUTUBE!).  Hopefully better pictures will be the near future!

Thanks for stopping by and have a fabulicious day!
xoxo,
Kim

Joining:  Miss Mustard Seed for Furniture Feature Friday
Craftberry Bush for The Inspiration Gallery

Thursday, July 19, 2012

Teenagers and Trashpicking Don't Go Together!

TIP:  When traveling with a teenager, don't ask them to get out of the car and help you load someone's trash into your trunk.  They don't like that.  Something about possibly seeing someone they go to school with or worse, having a picture of it on Facebook.  Anybody else out there extremely grateful there was no social networking when we were young?  Holla!

And of course it wasn't something small, like a mirror or a broken frame.  It had to be a large desk that required a lot of heave ho-ing.  I've said it before, these trash-picking adventures would make for great reality tv.  I would call my show "Curbside Follies".

Anyhoward, here is aforementioned desk before:


And its new groovy self now:


Every desk needs a chair, so we looked on Match.Com and found this cute little number.  JK, we had it in storage.


Sprinkled on some cute fabric from Walmart (cause I'm cheap like that) and ya got a groovy twosome!


Now for sale at our booth!

Paint for this project was Baer Paint in Rolling Hills, followed by a coat of clear poly.

Thanks for stopping by and have a fabulicious day!
xoxo,
Kim

(p.s. don't forget to tip your teenager)

Joining:  Share Your Creations Party at Kristen's Creations
              Make It Pretty Monday at The Dedicated House
              Furniture Feature Friday at Miss Mustard Seed

Monday, June 11, 2012

Bye-Bye Chickens!

I'm ridiculously behind on all of my DIY posts.  This one is from a month ago and there have been several since.  There's just not enough day in the time.

I actually purchased this table and chairs months ago from my beloved Craig for $130.


It's made of solid wood and very sturdy.  And I really like the rush seats and the curves of the table.


But those farm animals.


They needed to go.

I knew all along I was going to paint it, just didn't know what color.  The top is in pretty good shape and because it is purposely knicked up to look distressed I went ahead and filled in some other spots with my handy-dandy sharpie.

I decided on A.S.C.P. in Graphite for the chairs and the base of the table.


I distressed it a bit to let some of the yellow underneath show through then applied brown wax to make it a little darker.


It looks a lot better this way and blends in with the rest of the kitchen.


I've decided to extend my giveaway to this Friday.  I didn't get to post as much as I would have liked last week so to give my regular readers a fair chance you'll have an extra few days.

Just click on the link on my sidebar for the details on how you can win a gorgeous Summer tote bag like this one.


Thanks for stopping by and have a fabulicious week!
xoxo,
Kim

Linking to:  Metamorphosis Monday at Between Naps on the Porch
                   Wow Us Wednesdays at Savvy Southern Style

Monday, May 21, 2012

Old Ochre in the Dining Room

Rain is in the forecast for most of this week, and Big Daddy took the week off so we could work on sprucing up the outside of our home.  As disappointing as that is, there is always something to be done on the inside.  So BD tackled the monumental task of cleaning out the garage.

Since I started my business with Denise over a year ago the garage has been our workplace.  It's not a very conducive space to painting large pieces of furniture and the end result is clutter everywhere.  My workbench looks like an assembly line at the Annie Sloan paint factory with half open cans of half empty chalk paint in every color of the rainbow. In fact, I found some Old Ochre with just a few drips left at the bottom of the can that the average person would have thrown in the trash.  But any savvy blogger knows that an entire dining room set can be transformed by merely adding a few tablespoons of water to that can.  Am I right?

And only a fellow blogger could understand how painting one simple accessory on the buffet can translate into the sudden urge to transform an entire dining room set. Can I get an "Amen"?

This yellow vase, as lovely as it was, needed a little somethin-somthin.


So I grabbed a brush and some Old Ochre to give 'er a facelift.


No sanding, no waxing, no muss, no fuss, just a little bit o'paint.

Let's talk about what happened next, and tell me if this happens to you.  I'm now staring at an open can of paint with a brush that is already wet, and the only logical thing to do is look around and find something else to paint.  Might as well, right?  Why waste the opportunity?


Course it didn't take long for me to figure out what to paint....


Uh-huh...


Mom and Dad if you are reading this, now would be a good time to go read the paper....
And yes I still care what my parents think!  Darcy - you're just as impulsive as I am so I'm not worried about you!


Ooooooh, Aaaaaaaaaah!


I heavily distressed and then applied just clear wax as I wanted to keep it light in here.

I had this chalkboard on a side wall that barely anyone ever saw, so I moved it in and I love it over the buffet.  I stole the lettering from Dear Lillie - my new favorite blog to stalk.  I didn't do nearly as good a job as she does but it's not bad.


Two recent antiquing finds...


This fun piece of coral was only $2 at a yardsale recently.


I love the new look!


I've decided that next I'm going to paint the base of the table the same color but leave the top stained.  And the chairs are getting a makeover too.  Here's where I need your help.  I'm thinking slip covers, but I don't want to cover all of them.  So - do I just slip the two arm chairs and paint the others?  Or do I slip the other chairs and paint the armchairs?  Help please.


The china cabinet is too big of a task for me to even think about, but I'm hoping by making some other small changes it will fit right in as is.

Thanks for stopping by and have a fabulicious week!
xoxo,
Kim

Joining:  Between Naps on the Porch

Monday, March 19, 2012

What A Beauty!!

A fellow vendor at the antique store where Denise and I have a booth asked us if we would paint a dresser for her.  No problemo, I said.  Then she showed it to us.  Hmmmmmmmmmm...
Not only was it one of the most gorgeous pieces of furniture I'd ever laid eyes on, but it was also perfect in it's current state.  I have no qualms about painting furniture, but some pieces are just better off left alone.  I thought this was one of those pieces.
 
Then when she said she wanted us to paint it purple and black I felt a piece of my heart break off and fall to the ground.  How in the heck were we supposed to achieve this without totally ruining the integrity of this Athenian goddess?

Denise and I held our breath, crossed our fingers and painted away.  Not wanting to take ANY chances, we stuck with what we know works - Annie Sloan.

One coat of Emile and two coats of Graphite later, this was looking promising.  But in my garage paint studio it looked gray.  So we added some dark wax and the results were pure perfection.  I can't tell you how absolutely relieved and thrilled we were.  Painting furniture for own use is one thing, but painting for someone else adds a lot more pressure and brings out the perfectionist in me.

Here's Athena now.  Sorry no befores - in my panic I forgot.


And thank goodness the owner was elated with the results too.


Just look at all of the amazing detail.  Never seen anything like it.


Holysweetgoodness look at this hardware!


Some rub n' buff in antique gold brought it right back to life.  And now it shines against the black.


Next up, a bedroom design job for a new client and lots and lots of preparation for our Spring show at Clover Market in mid-April.

Thanks for visiting and have a fabulicious day!
xoxo,
Kim

Friday, December 2, 2011

Smoking Table Redo

A couple of months ago I posted about an antique smoking table I got at a yardsale for $30.  You can read all about that here.  I specifically fell in love with this one because of the beautiful wrought iron base, and had never seen one like this before.


The compact size made it a perfect fit as an end table in my Family Room.  The sofa in here shares a wall with the basement door, so I'm limited as to what I can put next to it without the door hitting it.


I also love that it has a spot for storage.


The reason it is called a smoking table is because the top is actually a humidor.  This one still had it's gorgeous original copper lining.


It didn't take long for me to get the itch to paint it either.  I decided to go with A.S.C.P. in Old Ochre since I had just done a piece for my show using that color and fell in love with it.  When you apply the dark stain to Old Ochre, there are just no words describe how beautiful it is.  It is by far, my most favorite combination.


Just look at that patina.  It's so authentic looking in person.

I decided to add a little some'in, some'in to her and chose a stencil I found online from Maison de Stencils.  I can't remember who first mentioned this on their blog, so please don't give me credit.  The Graphics Fairy is wonderful for providing free vintage graphics, but I have yet to find an easy way to apply them to furniture, so finding a supplier of vintage stencils was a godsend!  His designs include feed sacks, crowns, fleur de lis, damasks and chandeliers. You can click here to visit his online store and if you do, tell him I sent you!  I've already used my stencil on several pieces and can't wait to buy more.


For my smoking table, since it is so small, I decided to just use the bottom half of my stencil.  It's so simple - I just adhered the stencil with painters tape and then applied black acrylic paint using a small stencil brush.  Easy peasy!


Once it was all painted and waxed I decided that the black of the wrought iron base was too overpowering, so I softened it using an antiquing glaze that I had in my stash.  It gave the iron a weathered look that goes better with the distressed look of the wood.


I'm loving this sweet little table and don't think I'll ever part with it.  It's just too unique.


Thanks for visiting and have a fabulicious weekend!
xoxo,
Kim